Here is how to create a new presentation (step by step) – Part 2
Recently I wanted to give our media workshop a full makeover. Not just revise several slides, but completely rebuild things from the bottom up. Let me share the steps I took to do this, as these may come in helpful the next time you’ll be working on a new presentation.
Because this is a more extensive blog post, it will be split up in two parts. This is the second part. Read Part 1 here.
In Part 1
- we collected all the information and noted our ideas down on paper
- we launched PowerPoint and created several main structure slides
- we filled up that structure using the information we had initially collected
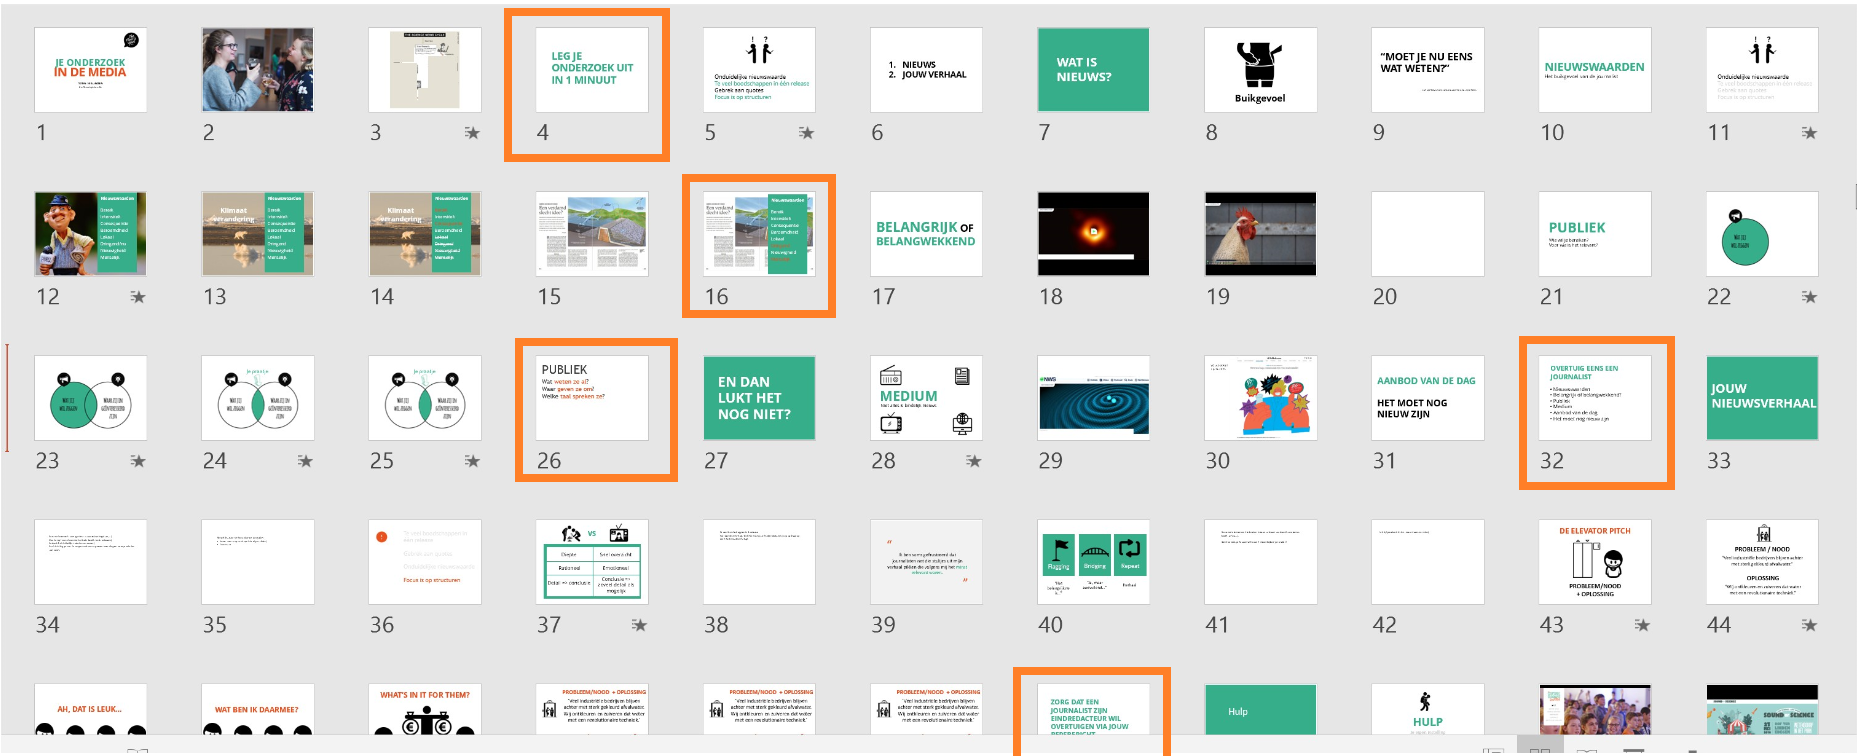
Step 5. Supplementing and adding exercises
It is important to introduce exercises (or any form of interaction with your participants) at regular intervals. This will keep your audience engaged and will minimize distraction.
In this step I added 5 exercises (see red boxes below) and scattered them throughout the workshop.
Do you have a regular talk for which exercises don’t feel all that relevant? Make sure you do introduce some form of interaction from time to time, especially if your presentation goes past 15 minutes. Ask questions, share a story, play a video fragment, or show an item.
Make sure to include interaction moments throughout your presentation. While many researchers will open their presentation with a question, after this they often stop engaging their audience.
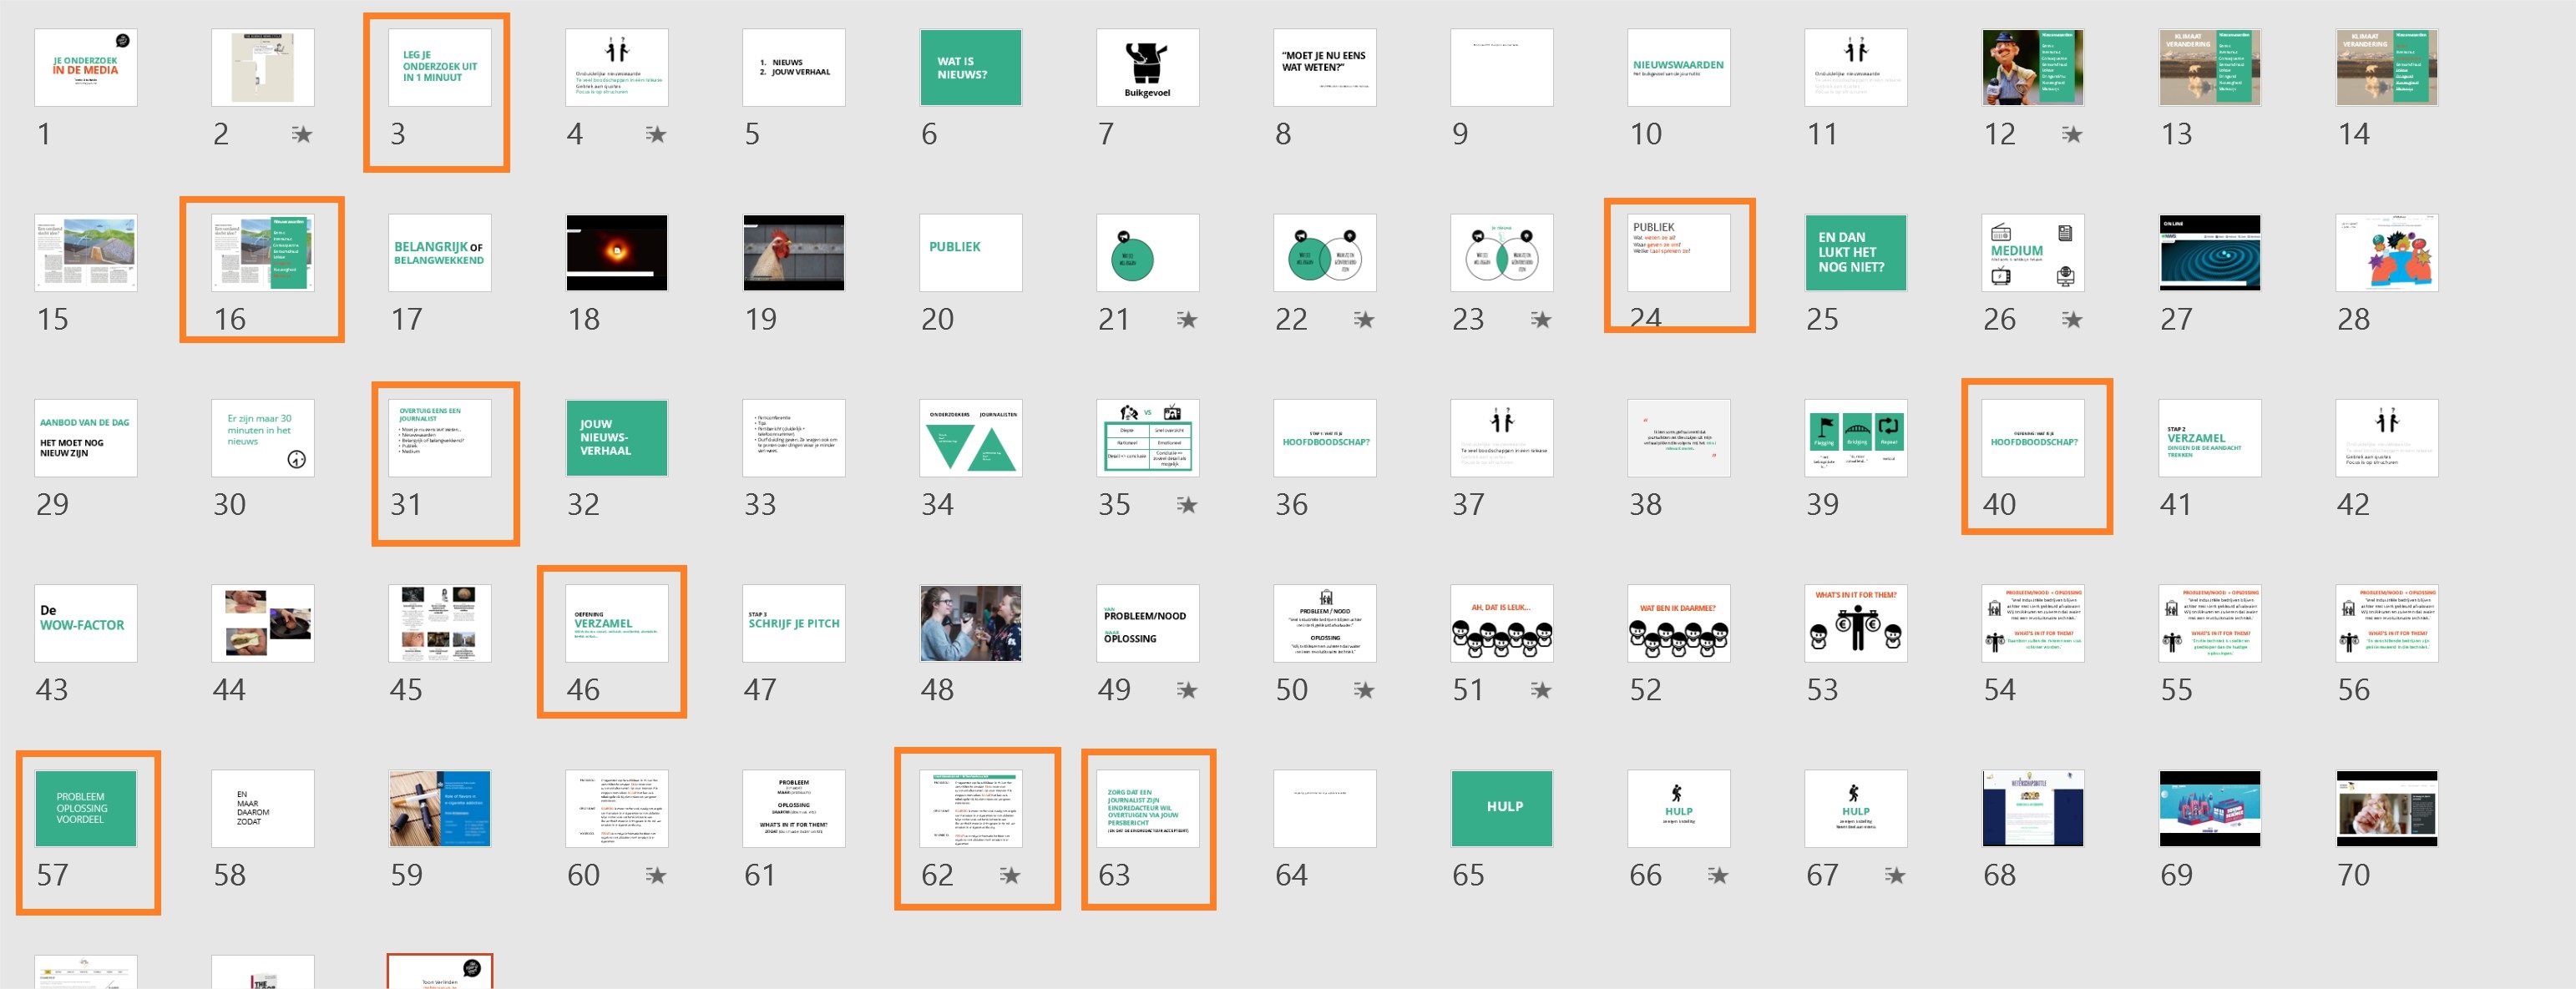
Step 6. Completing and (even more) supplementing
Now that I have established a strong foundation for my presentation, once more I go through my notes that I made in Step 1. I look for any extra information that I would like to add (this is the case) and I begin to pay more attention to the composition of the slides and adding on more exercises.
People often tell me they like my slides, but that they themselves are not able to create the same results ‘because they are no designers’. I can tell you: neither am I (my degree is in Biochemistry Engineering and Journalism). My slides often contain little more than some colored boxes, icons, and text boxes. I do abide by our green house-style color and letter font and refrain from putting too much text on each slide and opt for a large font. Make sure you read our blog posts ‘Slide design for Dummies Part 1’ and ‘Slide design for Dummies Part 2’, if you are looking for some additional tips.
Another thing I changed: the structure that initially contained four individual blocks has been reduced to two overarching blocks:
- What makes your story newsworthy?
- Your own news story
Of course, these still include items such as ‘Who decides if your story ends up in the media?’, ‘What can help you?’ or ‘How to write a press release?”. But having just two overarching blocks will create more clarity among the participants.
I also opt for yet another opening story than the two I had lined up and decide to introduce some additional exercises (red boxes).
At this point I begin to worry about the timing. Do I have enough content? Or too much? This is difficult to judge, as this will be the first time presenting this workshop. Much will depend on the interaction with the participants.
I select which content and exercises I could drop if my presentation runs too long. At the same time, I add some additional slides at the end of my presentation that can be added in case I burn through my content faster than expected.
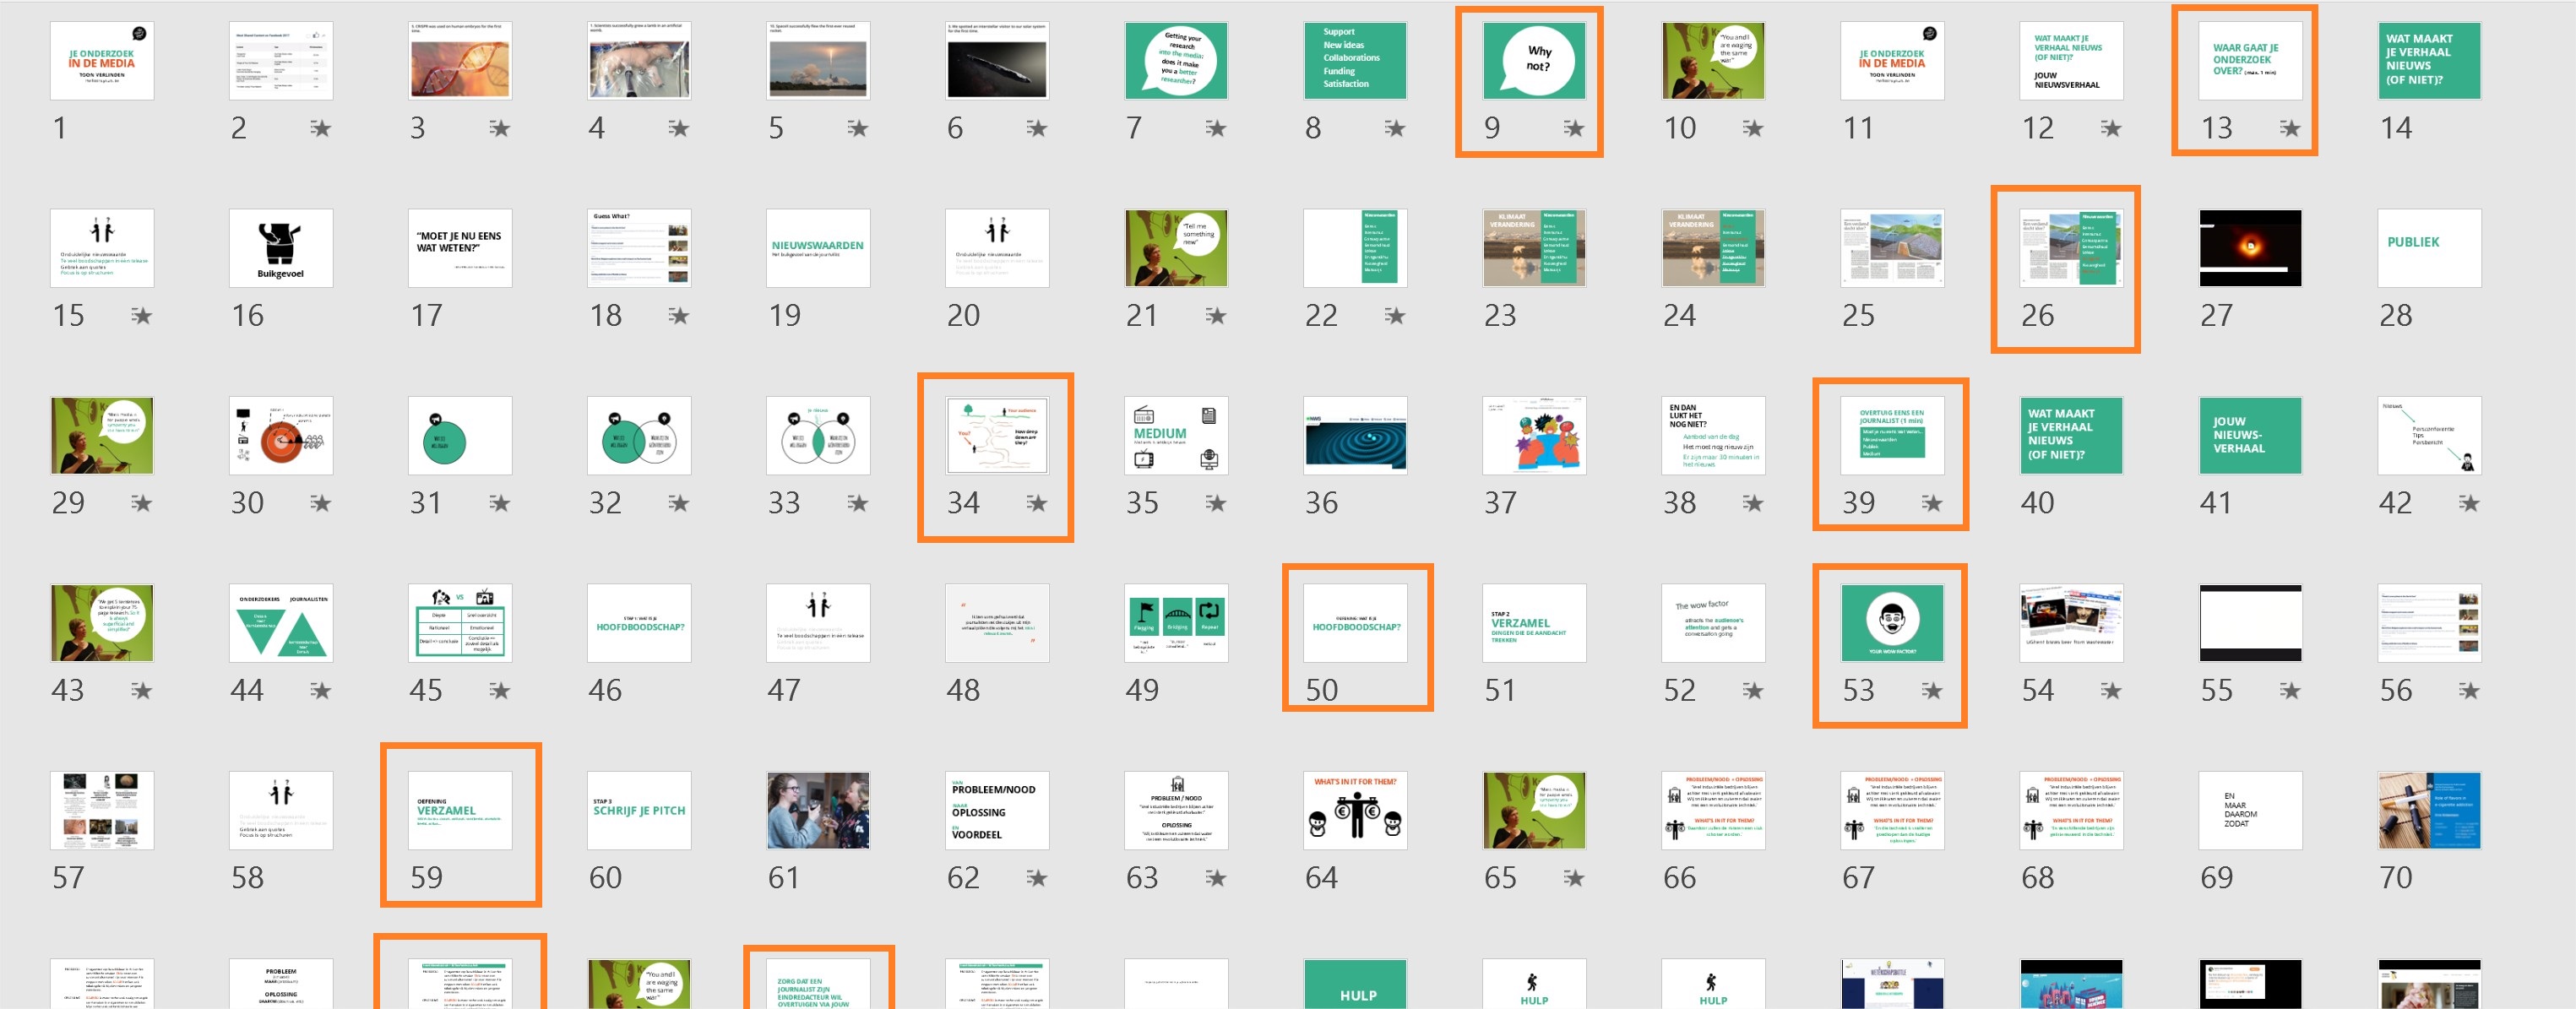
Step 7. Two minutes before the workshop
Two minutes before the workshop is to begin, and you can still catch me making adjustments. I change around the order of several slides, and I happen to have just received the names and contact information of the organizations’ communication department. I gladly communicate those in a media workshop, knowing that these are key figures in the media landscape.
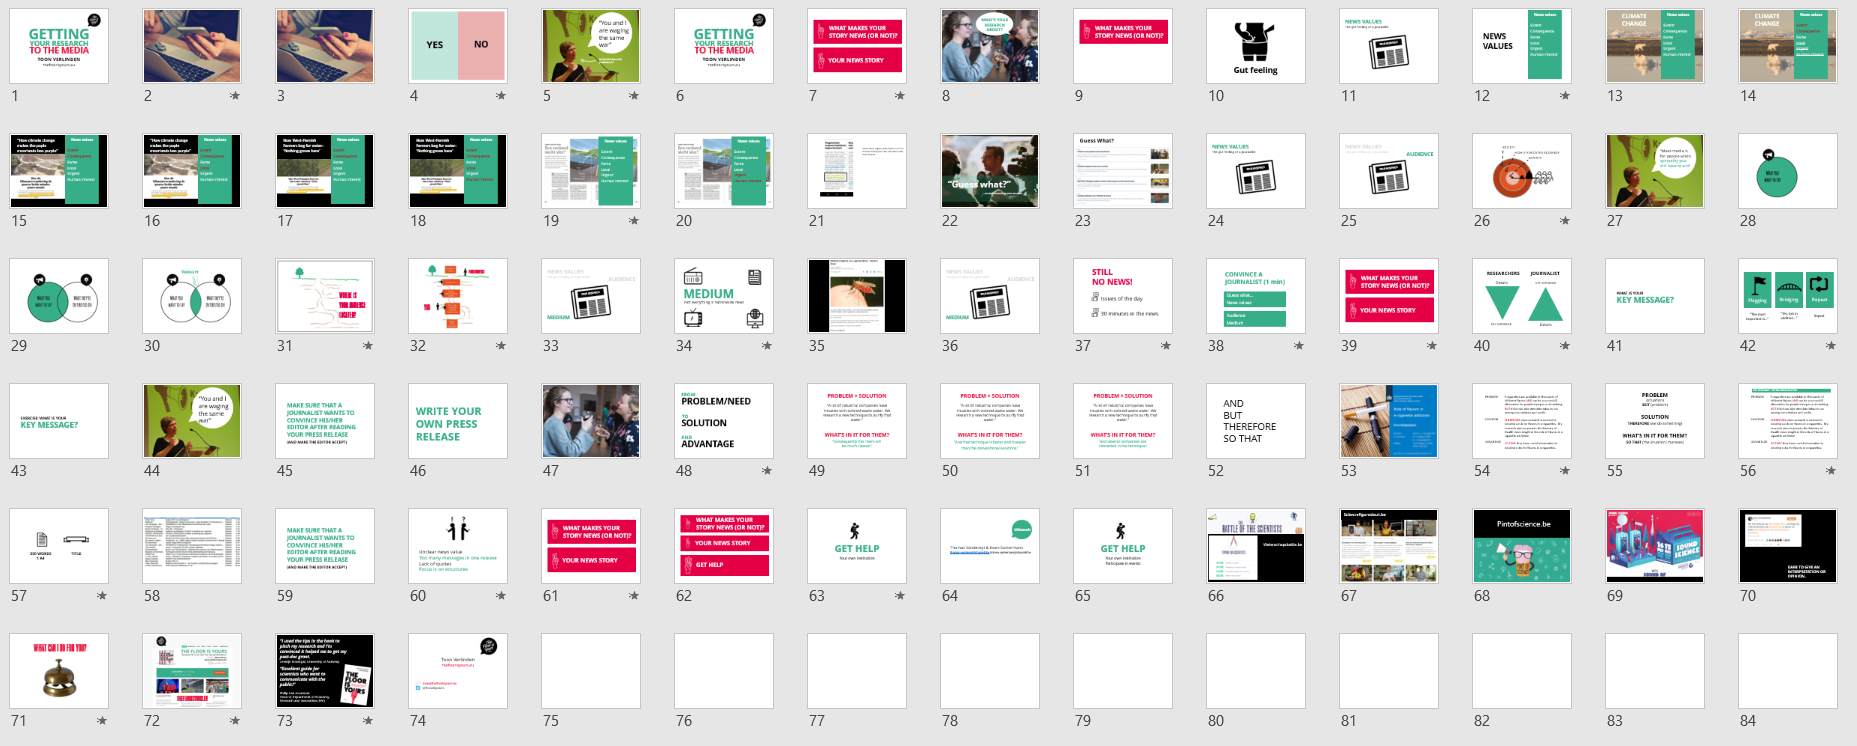
Note that, between Step 6 and 7, I translated the workshop into English. I did this at a fairly late stage in the process. The advantage to this is that you can develop your workshop without worrying too much about the right wording in English of things that you may eventually end up dropping.
Step 8. Revise
The workshop is behind us. It was a success, although there was one scientist in the audience who was radically opposed to the media – “sensation-seeking vultures”, he called them, – and had a somewhat hostile attitude to go along with this mindset.
Everyone is entitled to his or her opinion. In fact, this motivates me all the more to want to host this workshop: I would love to rid the world of the misconception that scientists and journalists are continuously at war with one another. They fight for the same cause, but will often approach a topic from different angles.
This ‘hostile’ attitude led to more interaction than I had expected and I ended up having too much material. I was happy to have decided beforehand which content I was able to drop.
During my train ride home, I immediately begin editing things, like structure, design and the beginning. Next week I will be hosting this workshop again, but in Dutch. I’m sure there will be many more edits and improvements to come, likely after each workshop.
A presentation is a work in progress. You simply chisel away at it, one piece at a time…