Slide design for Dummies Part II
Reworking your slides is not as painstaking as you may think. It is often just a matter of adding some extra boxes and selecting the right images. But where to begin when your slide looks like someone has pasted in a full law text?
Find the key concepts
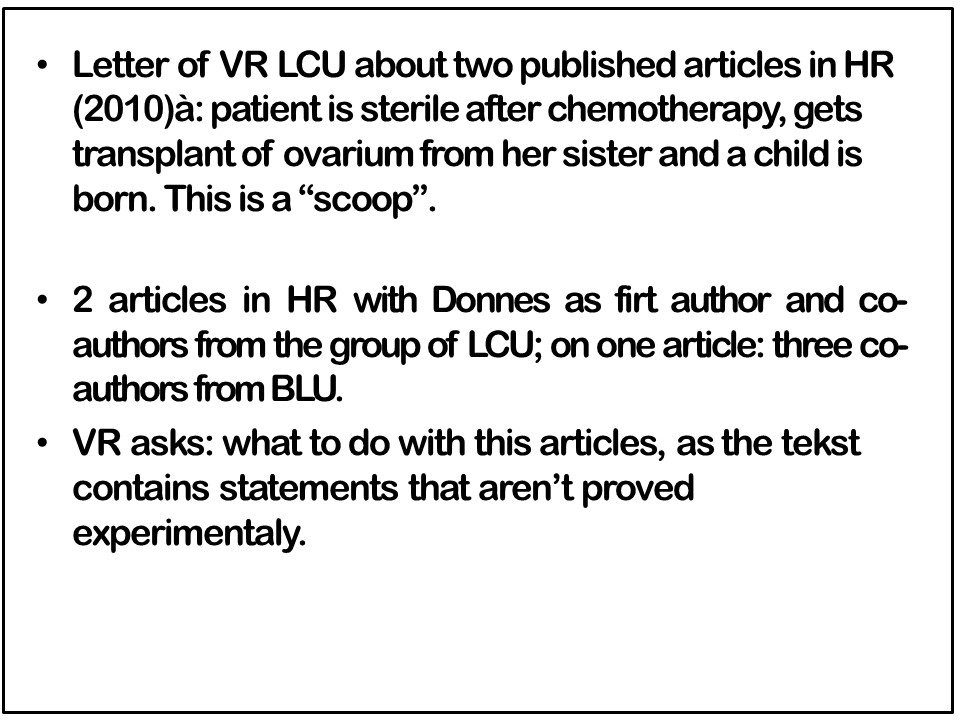
The original slide seems to serve as an autocue. It helps the presentor to remember what he wants to say. But here is the catch: People read faster than you are able to present. Your audience will have gone through your entire slide, long before you even start on paragraph two. They will no longer be listening to you (no need, they just read everything!), they will drift off, and will have a very hard time reconnecting.
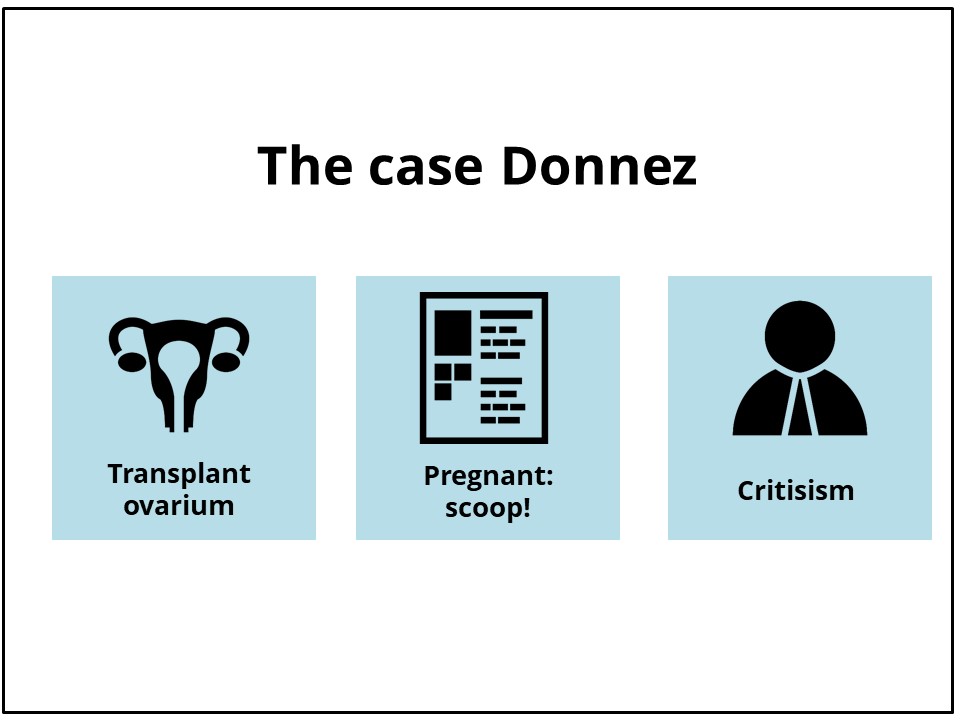
To tackle a slide like this, first pinpoint the key concepts of your story. In this case, the slide covers:
- a discovery following transpalt of an ovarium
- an article that was then published
- criticism of the article
Once you realize that the structure of your story should consist of those three main concepts, your revision will be a piece of cake. Draw three colored boxes, drop a key word in each of them. and add a fitting icon (from thenounproject.com, of course!). Done!
Your slide will now offer you and your audience the right amount of support, and everyone will still need to listen to you to understand everything.
Slides are not handouts
We cannot stress this enough: slides are not handouts. Also check out these past blog post: ’How Word is your PowerPoint?’ (from 2013)
But, again: your slides are meant to support your presentation, and handouts are a means for your audience to revisit what you covered in that talk. If your slides are in fact your handouts, your audience will just be reading the content of your presentation right from the screen, before you even have the chance to present it. Your audience’s attention is bound to drop.
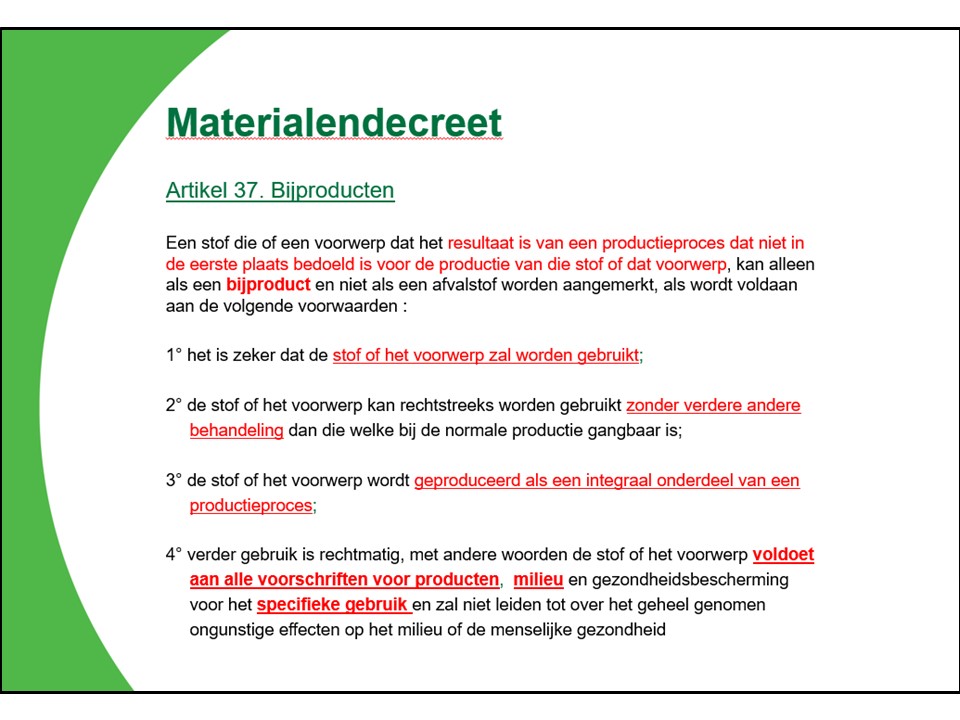

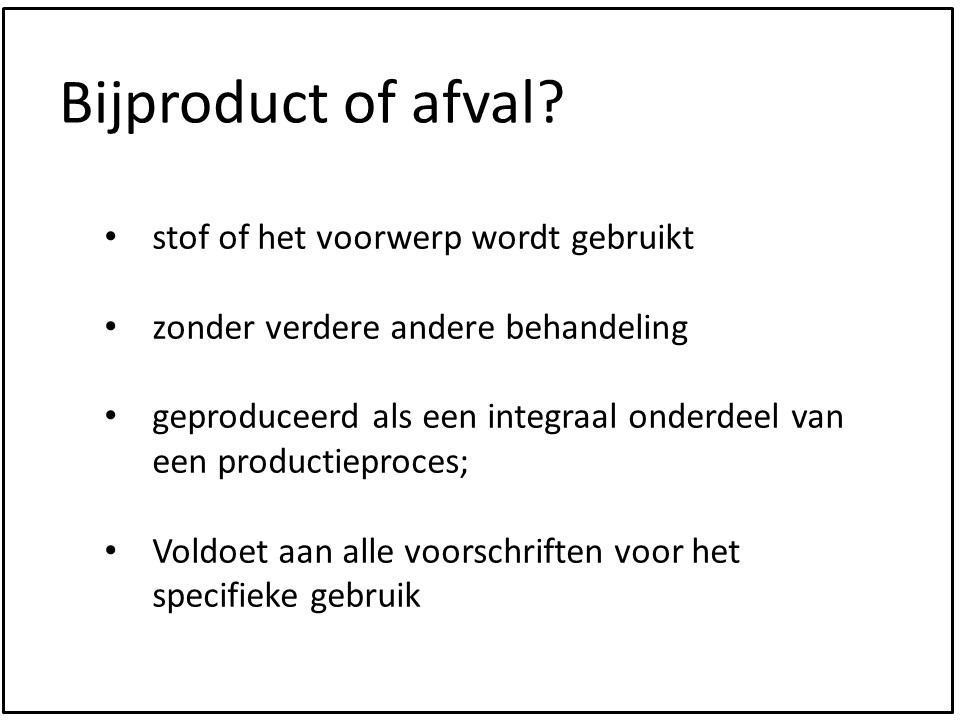
This slide is a perfect handout. (sorry for the Dutch slide, but you get the idea.) The slide is an ideal way for your audience to reread the list of regulations, following your presentation. But as a slide, it is less ideal.
To revise this slide, consider these steps:
- Analyse the content of your slide. In this case we would like to come to a definition, of when something qualifies as a useful by-product, or when it is simply considered waste.
- The step that is often fulfilled, is placing the most important words in bold, or as we see here, in red.
- If you were able to check off the previous step, then your next step should be simple: drop the text that is not in red. This text can probably be included in your presentation and does not need to be part of your slide.
The slide feels much less cluttered already. But without the bullet points and with an empty background, it has also become rather boring. Let’s add another green box and an icon.
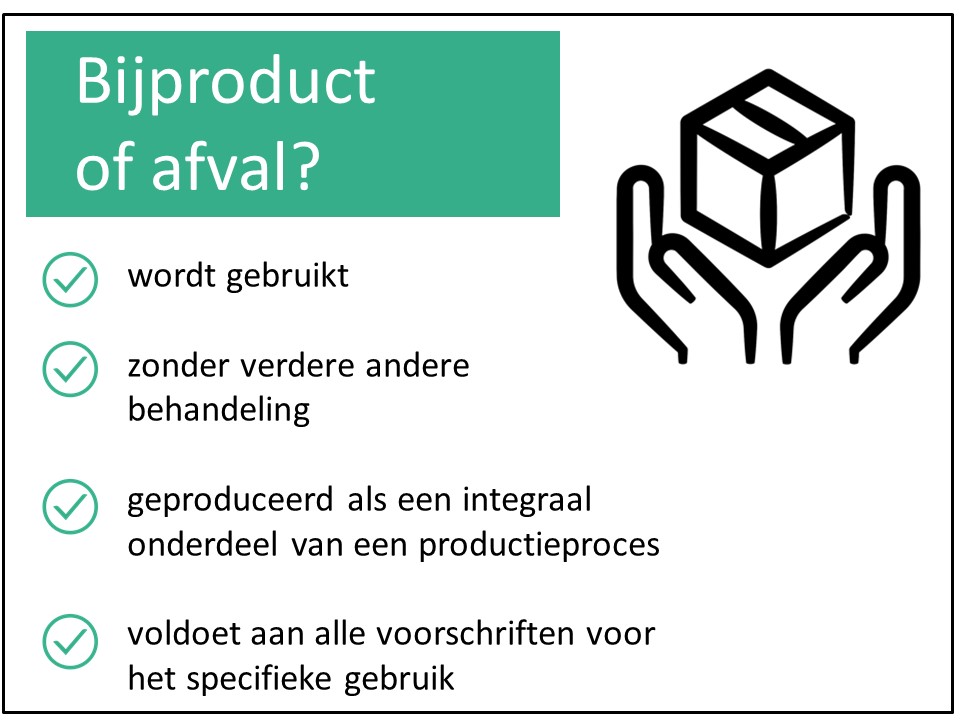
Ready! Also for this slide, it was just a matter of dropping unneeded text, adding in a couple of green boxes and dropping in an image.
Images liven things up
And finally, let’s add a standard slide title.


Nothing wrong with this slide, really. If anything, a bit boring, though. And it could make you wonder about the slides to follow. Not your ideal presentation launch 🙂
Let’s begin by looking for a descriptive photo (in this case from pixabay.com). Seeing that the topic of our presentation is publication stress, a stack of papers pressing up our text to the top of the slide seems quite fitting.
You could argue whether mentioning the names of the speakers on your opening slide is very useful. When you’ve just started presenting, noone is interested in who you are yet. Of course, that will change once your audience understands what you have to offer to them.
Make sure to include your name and contact details at the end of your presentation, instead. Agreed, this is a personal preference. But I would rather move this information to my closing slide, if only due to lack of space on my background image.
Ready! This revision didn’t even require creating additional boxes in PowerPoint, but simply dropping an image in the right place.
The main message
Before-and-after examples are always fun to read. But if there’s one thing to remember from reading this blog post, let it be this:
- Identify your slide’s key concepts and drop the rest
- Slides are not handouts. Make sure your audience needs you to understand your presentation.
- Play around with icons and images: people will remember your slides better and will all the more enjoy your talk.
Good luck!
More remakes?
This past blog post also featured a slide remake. Take a look!
And we end with this remake, without extra comments.