8 extra steps to a good scientific poster (part 2)
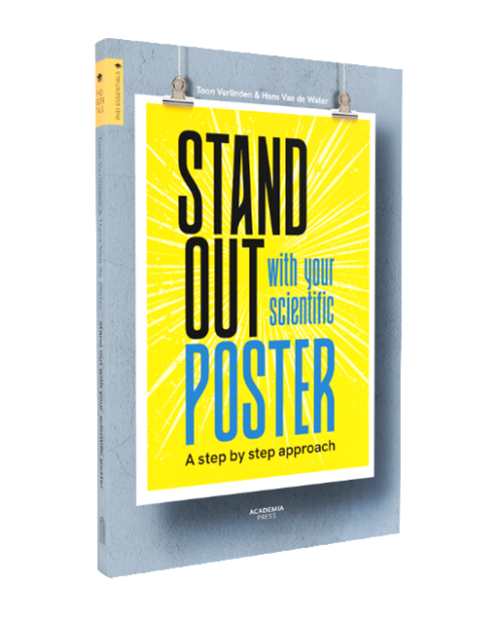
Our new book is in shops: Stand Out with Your Scientific Poster. Are you a researcher struggling with creating scientific posters, or just want to do better? This book will help you step by step on your way to a poster that has impact and really works. So that you won’t be twiddling your thumbs at your next poster fair.
In this series of two blog posts, we will tell you what you can find in the book. Of course, in the book we go a lot deeper into each step and give you a mass of examples to get you started.
This is the second part of the series. In the first part we looked at the first six steps that get your poster’s content right. Now we look at ways to make your poster attractive too.
Step 7. Make a sketch
A simple sketch on paper is hugely valuable. You make such a sketch in five minutes but gain hours and your poster becomes more creative. After all, it doesn’t always have to be blocks. In the book, we give some powerful examples.
Step 8. Find a good title
Pay enough attention to this. A title is often the first thing your audience sees. Even if they only have five seconds while walking past your poster on their way to coffee: they have seen that title anyway. Commit to your subtitle as well. There are some title tricks you can use without lapsing into clickbait, you can read about them in the book.
Step 9. Find the perfect image
Images are important: they attract attention, but also make things clear enormously quickly. Text and slang words that you stare at for a long time without understanding, become clear in less than a second with the right image. Don’t be satisfied with the first image you find and put your image on your poster first.
Step 10. Think about your design
Before you get started with your design software, think about the dimensions of your poster and its orientation, as well as things like colours, fonts and white space. Check the dimensions of your poster with the organisation. You certainly wouldn’t be the first to arrive at a conference with a poster that is too big or too small.
Step 11. Avoid a data dump
Don’t just take a screenshot of your Excel graphs: make sure they fit nicely with the poster. Don’t make charts too busy and put the conclusion of your chart in the title of that chart or table. That way, people will quickly know what the conclusion is that they need to remember.
Step 12. Surprise
There are many ways to surprise your audience with your poster: bring something to show or get creative with scissors. Measure fun ideas in the book.
Step 13. Ask for feedback
Feedback is important, but realise that your colleagues or your supervisor are usually not the best source of feedback. They are usually not the poster’s target audience and will mainly look for what they can add.
Step 14. Break the ice with a question
During the conference, it is your job to open the conversations, not your audience’s job. A simple icebreaker question is the easiest way to do that.
Order the book!
Do you want to know how to apply all those steps in detail? Want examples and practical tools? Then read the book Stand out With Your Scientific poster. The results we see from researchers applying this roadmap are phenomenal. We are not saying this because we have a book to sell, but because we want poster sessions to become more meaningful and you will achieve more impact with your poster.
Good luck!